
Family Recipe Book Template
*Originally posted February 2023, updated February 2025*
I did it! I finally made the recipe book template that I’ve been dreaming of for the last five years! I have always hated having to flip through several cookbooks, Pinterest boards, and phone screenshots to find the recipe I was looking for, and then having to keep unlocking my phone or wake my computer up to reference it as I was cooking. If only I was able to put all of my recipes in a binder that was organized and cohesive. So I’ve been wanting to do this for a while. But trying to find the easiest method was taking forever. I tried several Adobe InDesign, Microsoft Word, and Google Doc versions before finally landing on what I found to be the easiest.
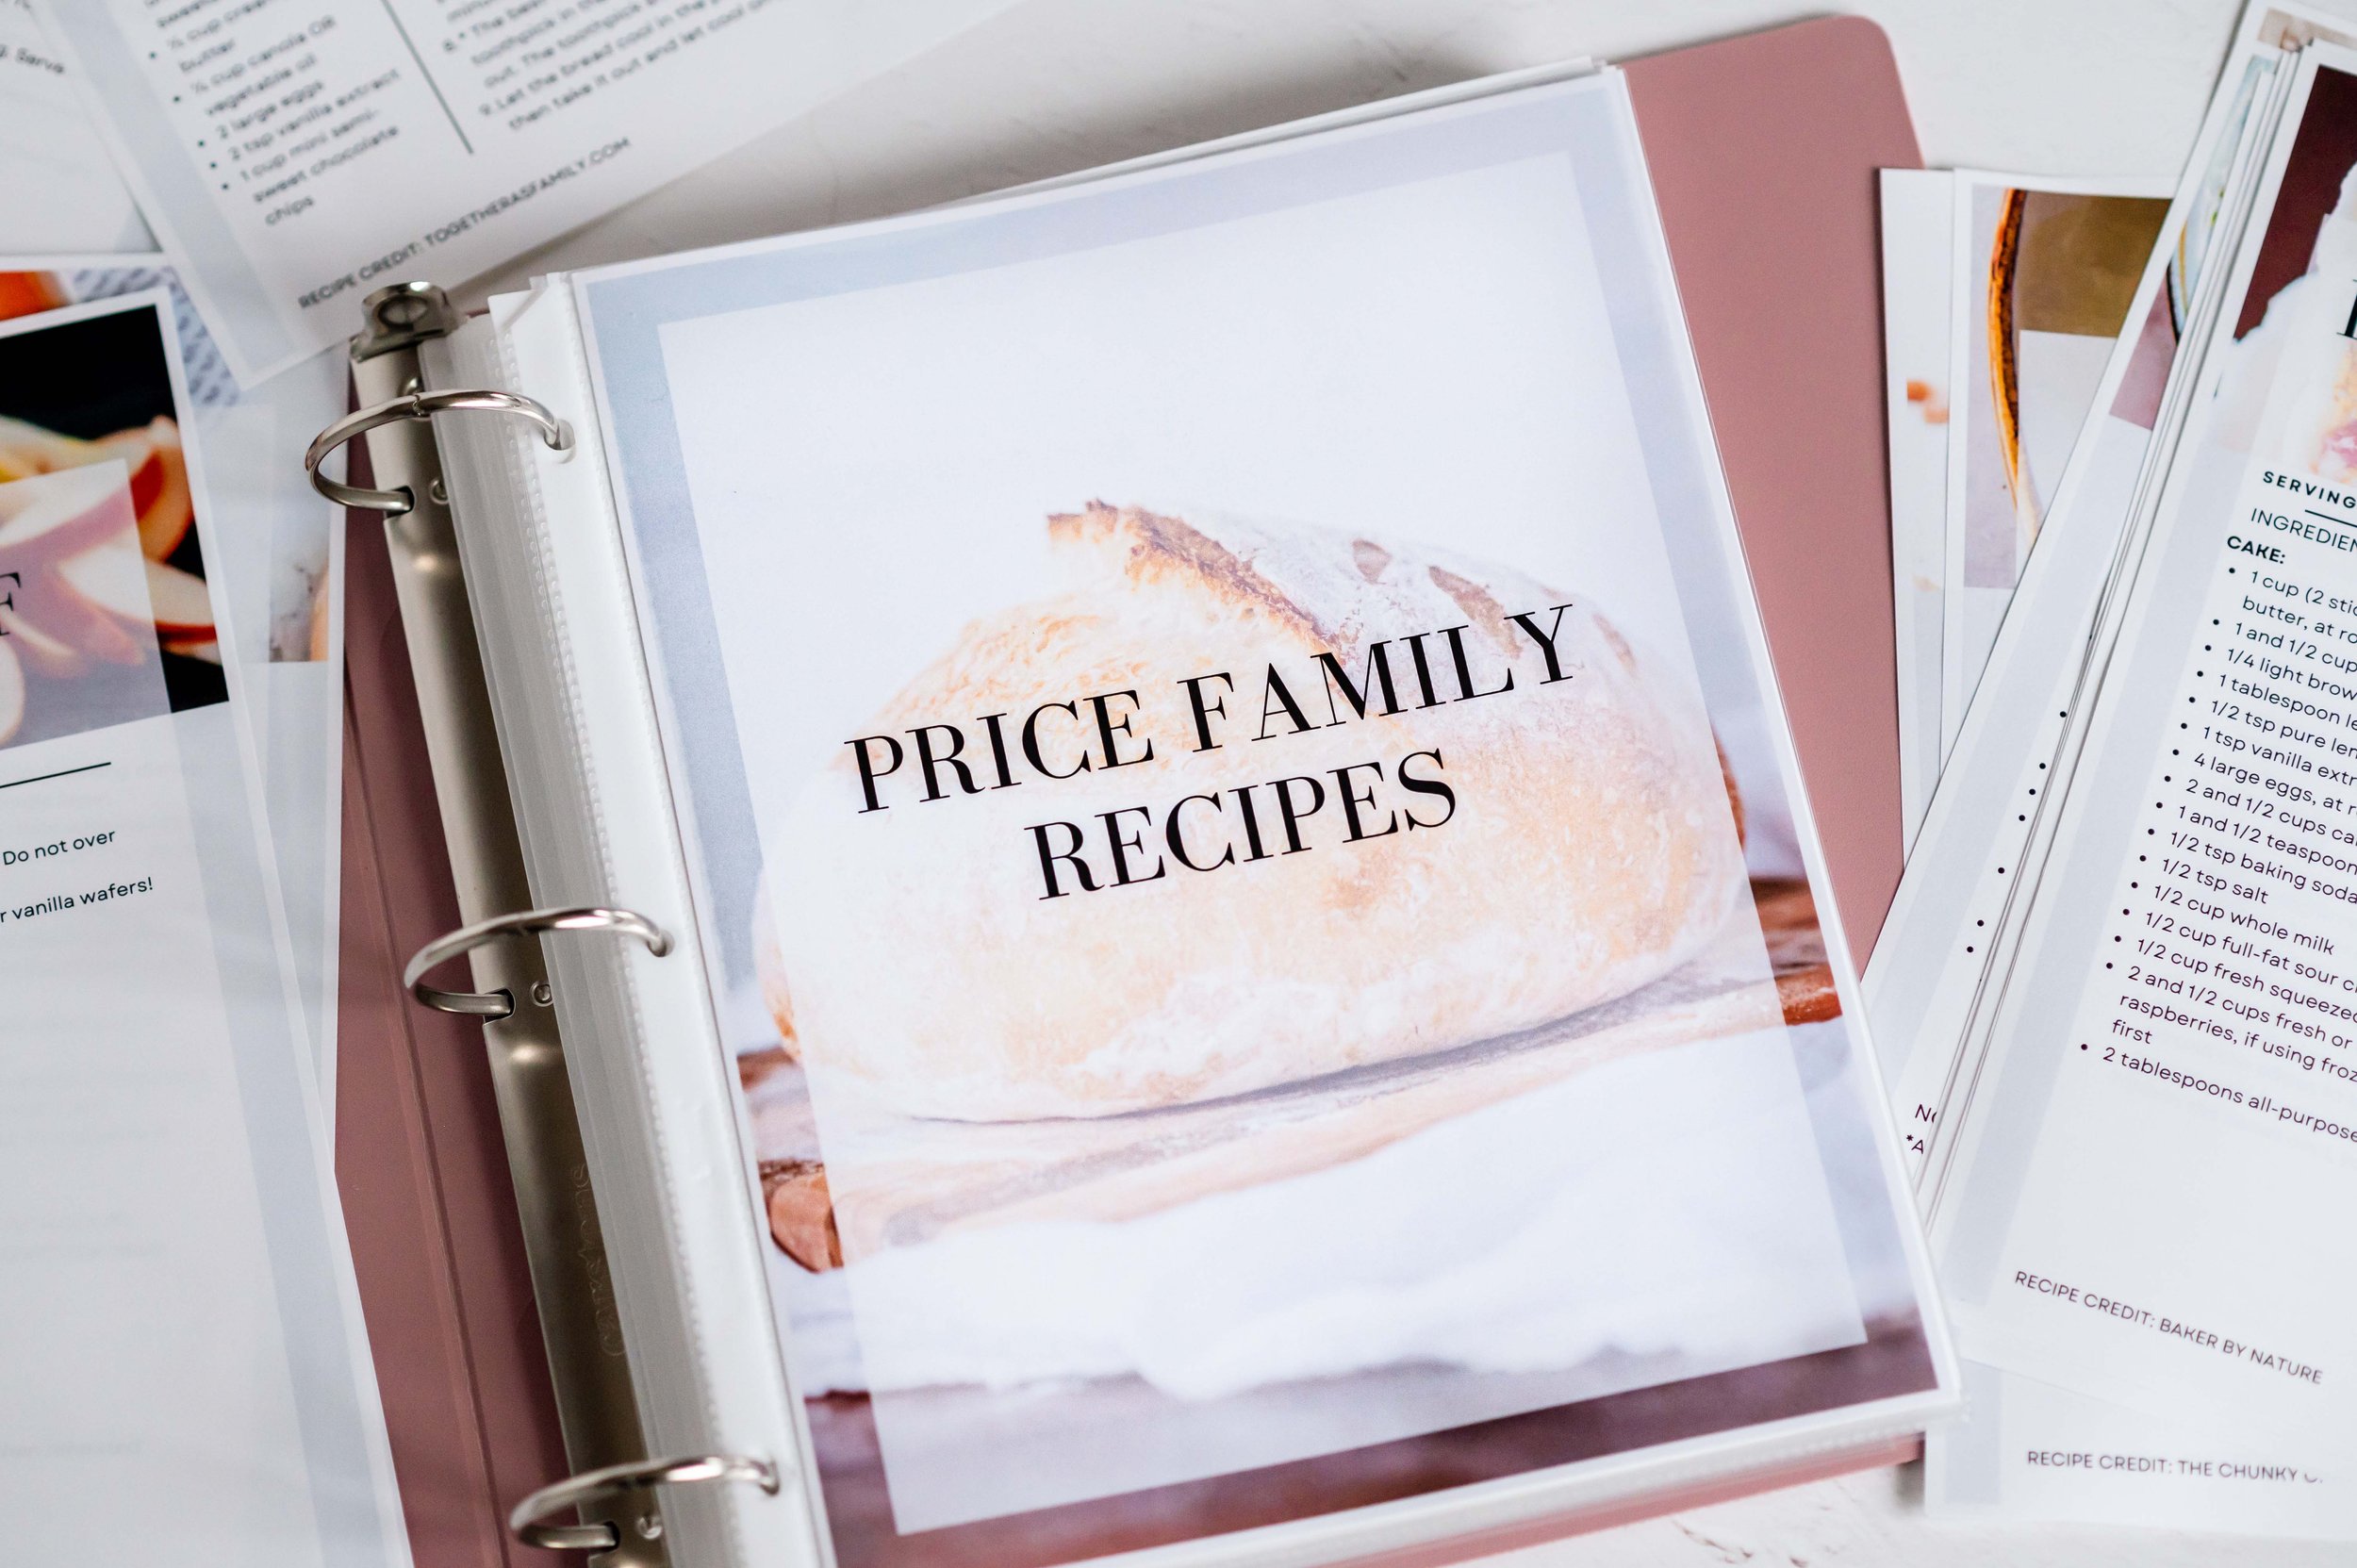
This isn’t your mom’s binder with newspaper clippings, scribbled on a scrap paper, and printed recipes from the internet shoved in it in a jumbled mess. This is an organized, cohesive, and practical way to store your recipes all in one place. All you need is a binder, page protectors, dividers, and the template to plug all your recipes into!
I sell this directly from my website as a digital download so you can use it immediately! Once you purchase, it will be automatically sent to you!
The program I used is called Canva and it’s free! You just have to create an account & you’re ready to roll! Once you download the template instructions, you will open it and see all sorts of helpful information, along with the links to open the templates on your computer or phone.

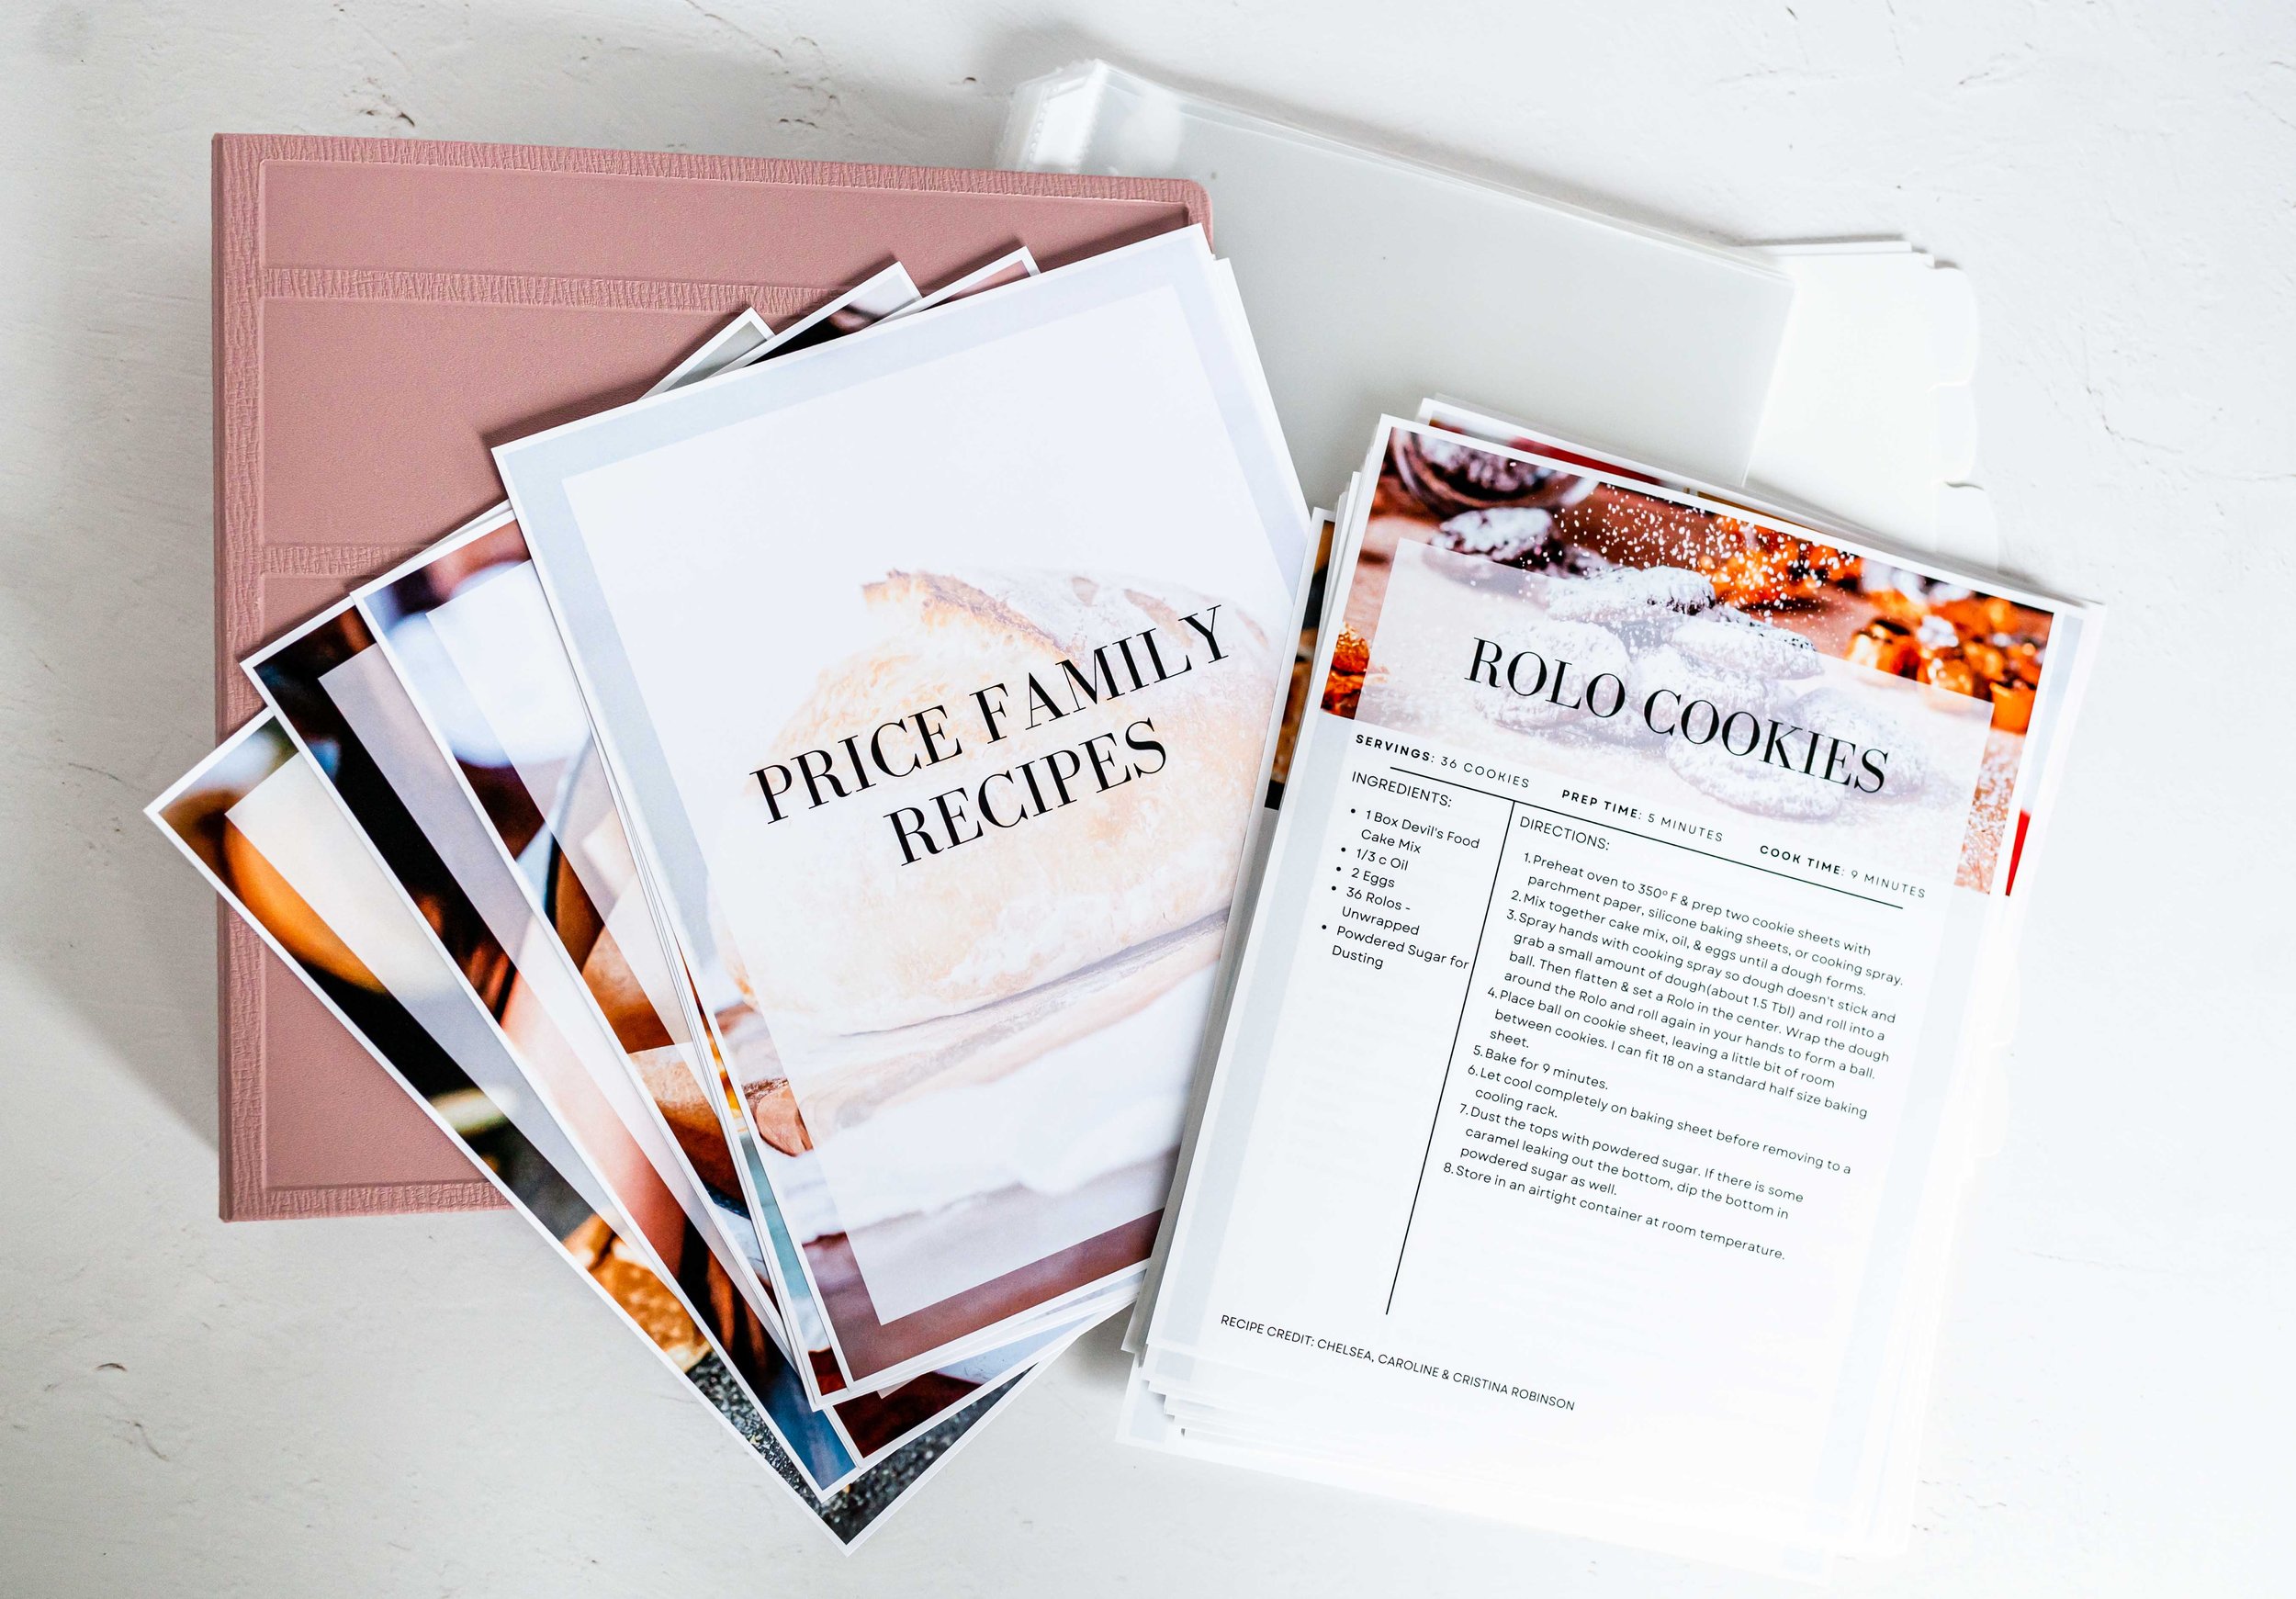
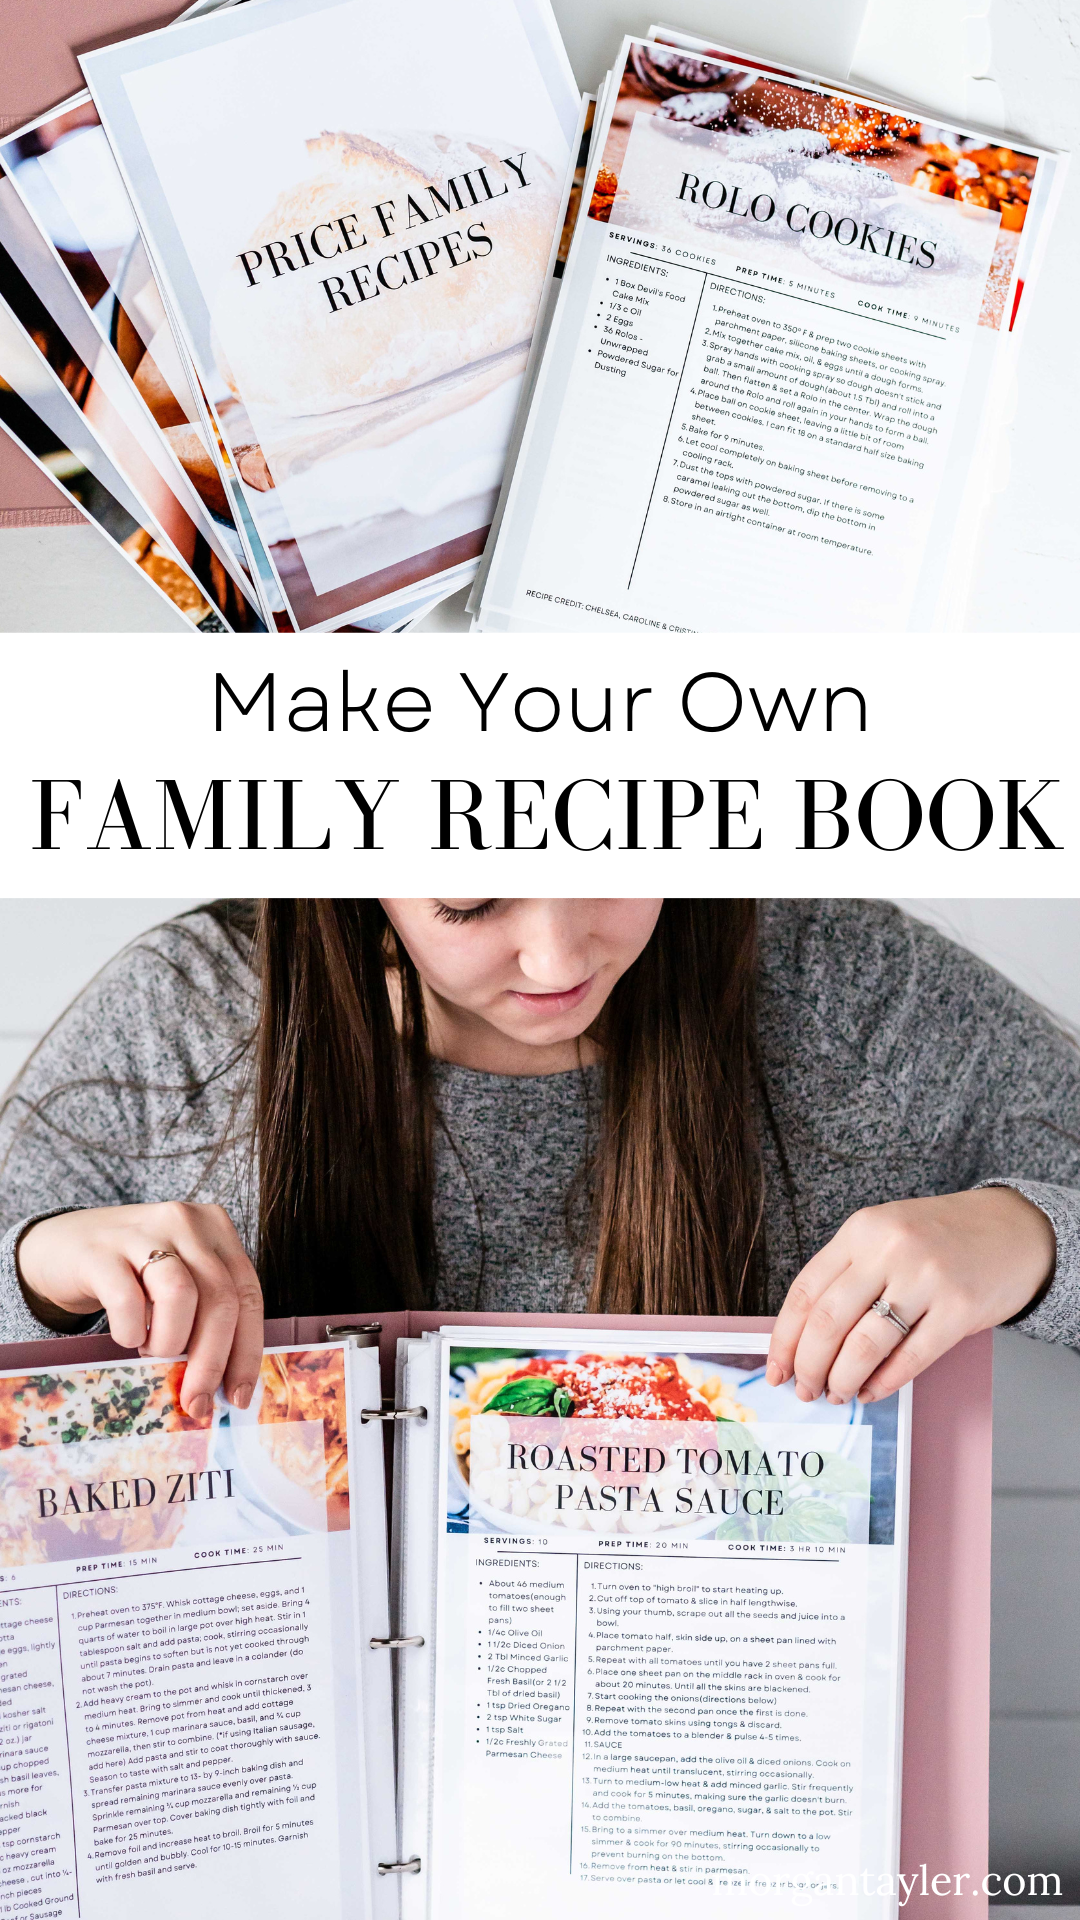
When I asked what everyone likes in a recipe card or cookbook page, many said they like photos, servings and cook times, so that’s all right at the top! There’s two different versions. One that has a photo and one that doesn’t! If you have a photo that you’ve taken of the recipe or want to pull one from the blog that you got the recipe, then put that at the top! But if you don’t, then do the version without the photo! In addition to places for ingredients & directions, there is a place to put any notes that there may be, and also a place at the bottom for recipe credit!
There’s also a continuation page for those really long or complex recipes. This page doesn’t have a photo and is set up to have plenty of room for additional directions and notes when you need it! Then when you put them in your binder, they can be side-by-side and you can get to cooking without skipping a beat!
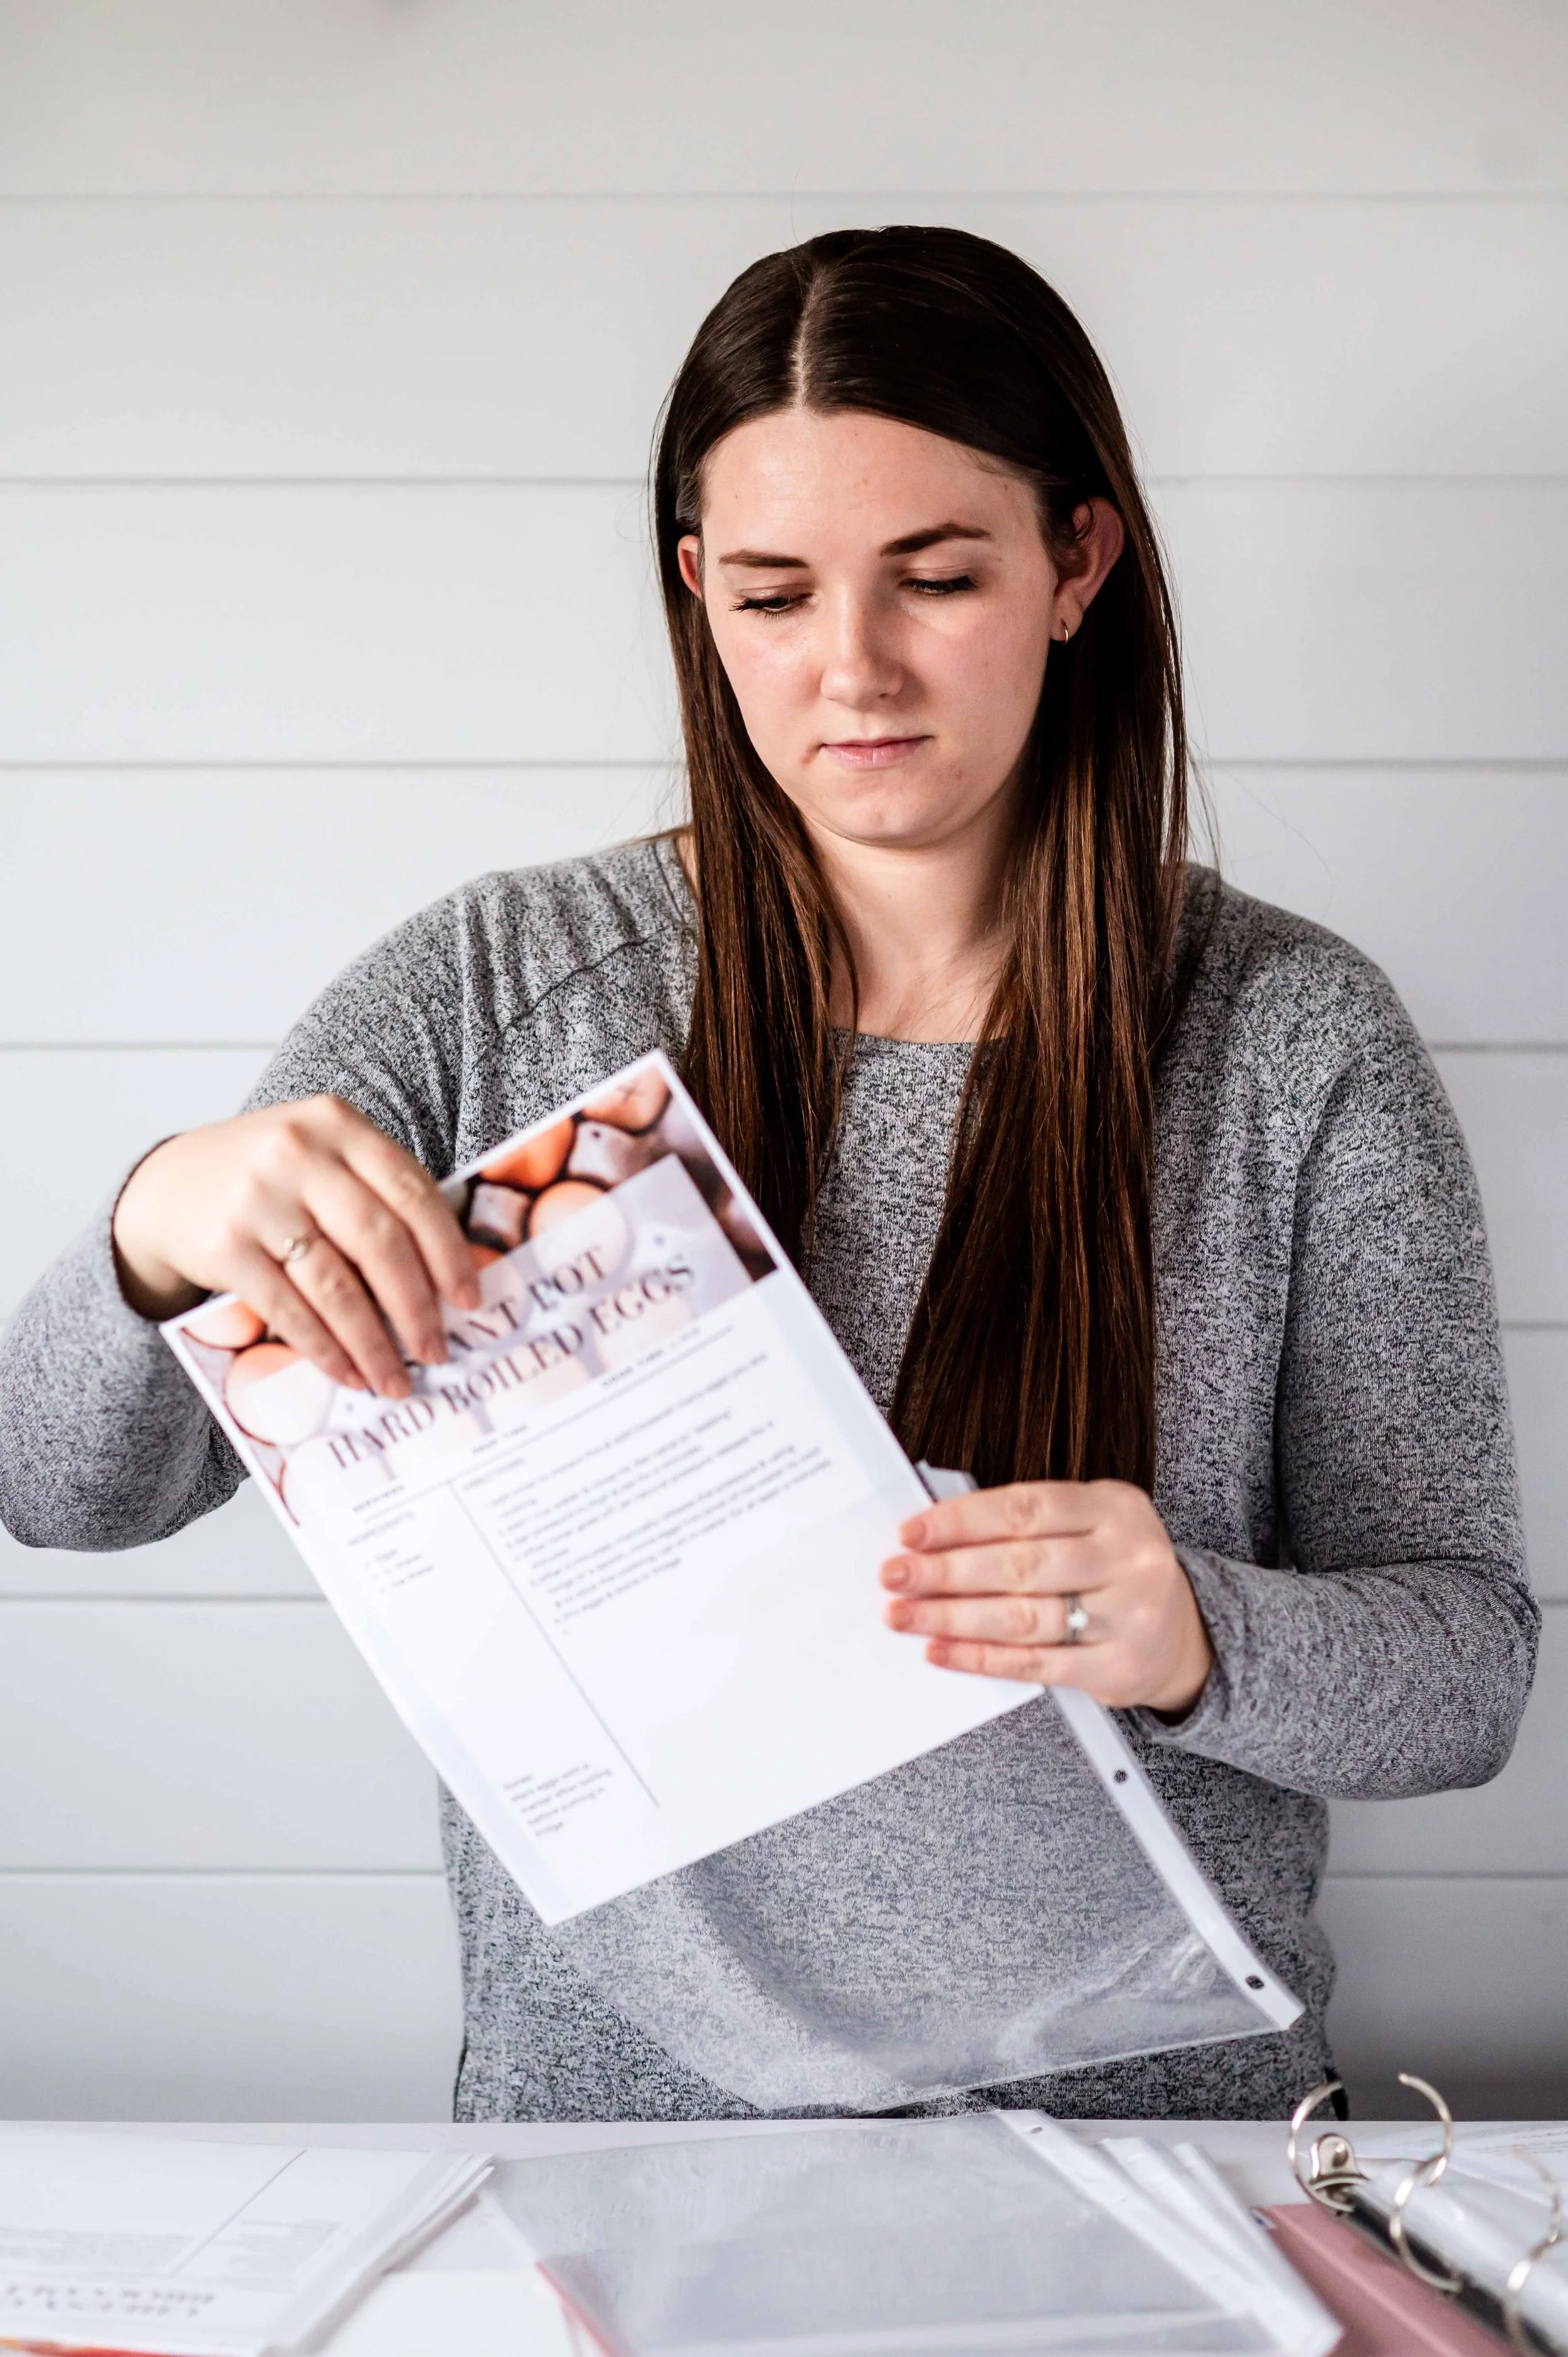
You can edit them on your phone through the Canva app, or on your computer. I recommend the computer version because it goes much faster & is easier to see what you’re doing. Once you’re done with them, you will download them and either print them yourself or send them to a local print shop! Local to the Tri-Cities I recommend Digital Image Tri Cities & also B&B Express Printing! If you are putting them in page protectors(I would just in case you get any spills on it while cooking) I recommend printing them on regular paper in full color, single sided. When I did mine, they were 36¢/page. If you want to save some money, you can have them printed double sided as well! For page protectors, I was super picky about them. I didn’t want anything thin or flimsy and were strong to stand up to years of use. I finally landed on these heavyweight page protectors. I would also note to order more than you need right now! As the years go on, you will add more recipes & this way they are all the same.
I also included section divider pages to help keep it organized! Feel free to keep the photos I used or put in your own! I printed mine on card stock, but if I did it again, I would just do them on regular paper. I have plastic tab dividers in mine as well to make it easier to find what I’m looking for. When you buy dividers, make sure you have enough tabs for the sections. These are what I bought & I’m really happy with them. They’re nice and sturdy and have 8 tabs, which is one more than I have sections.
And of course you will need a binder! I wanted one that was strong and durable so I don’t ever have to worry about replacing it. I got a 2” and I think it’ll be perfect! I definitely wouldn’t go any smaller. I got this one that was designed for use in schools and hospitals where it’s used all day long. It also comes in all sorts of super cute colors!
When I put mine together, I realized I wanted to put something inside the front cover and decided on a conversion chart because I’m always looking one up when I’m halving a recipe or need a different measurement. But I had tons of extra space, so I asked on Instagram what else would be useful and people said safe meat temperatures, Instant Pot cooking times, and ingredient substitutions! So I made it all fit in one simple page that you can print & add to the front of your binder to easily flip to when you’re cooking! I also included a weekly meal plan sheet you can print to help organize your meals & grocery lists!
I am so glad I finally made time for this project & I can’t wait for you to love it as much as I already do! Please share with me when you make yours! Feel free to DM me on Instagram and tag me in your stories!

As an Amazon Associate, I earn from qualifying purchases through some links at no cost to you.
By doing so, you are supporting me & the blog. Thank you!!! XOXO